
60% Transparent "Ghost"
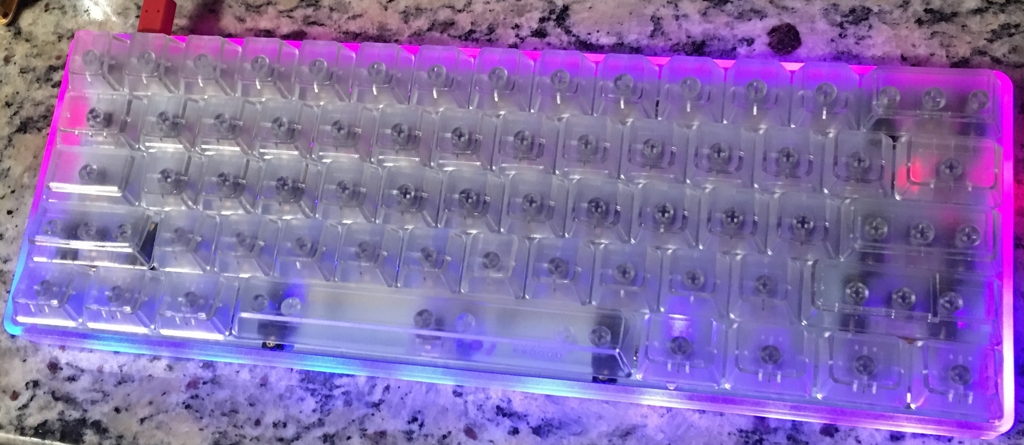
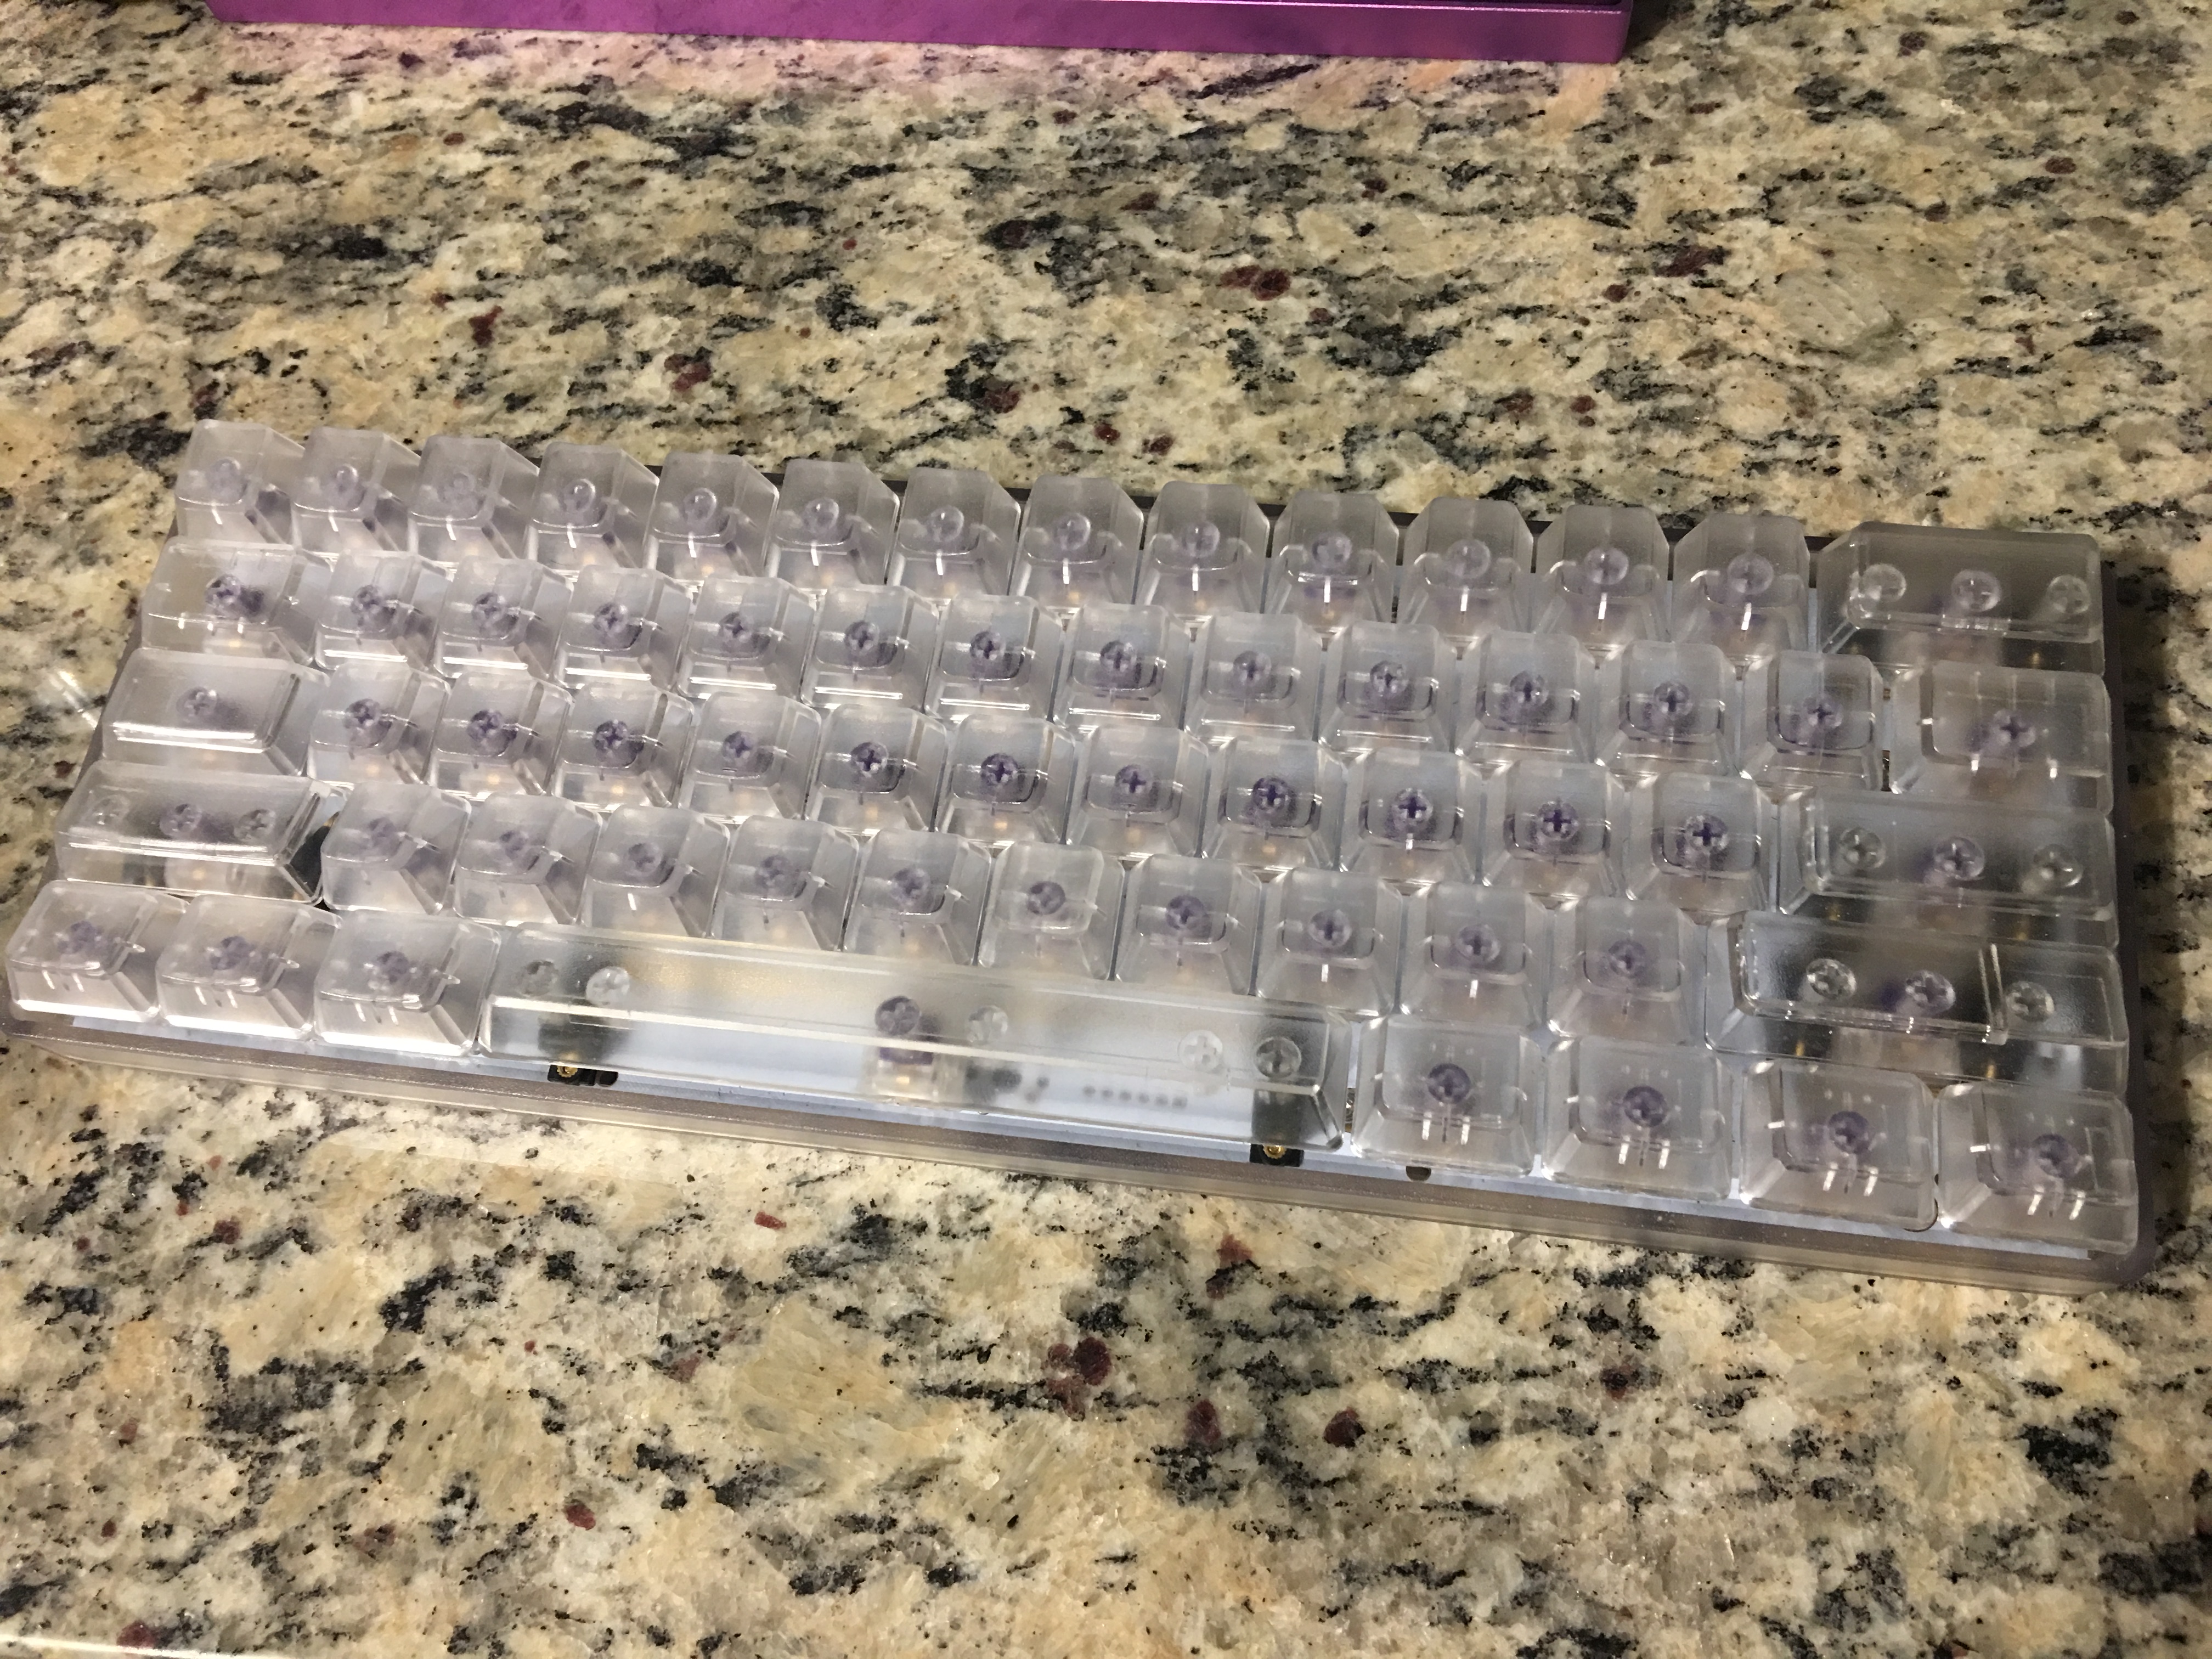
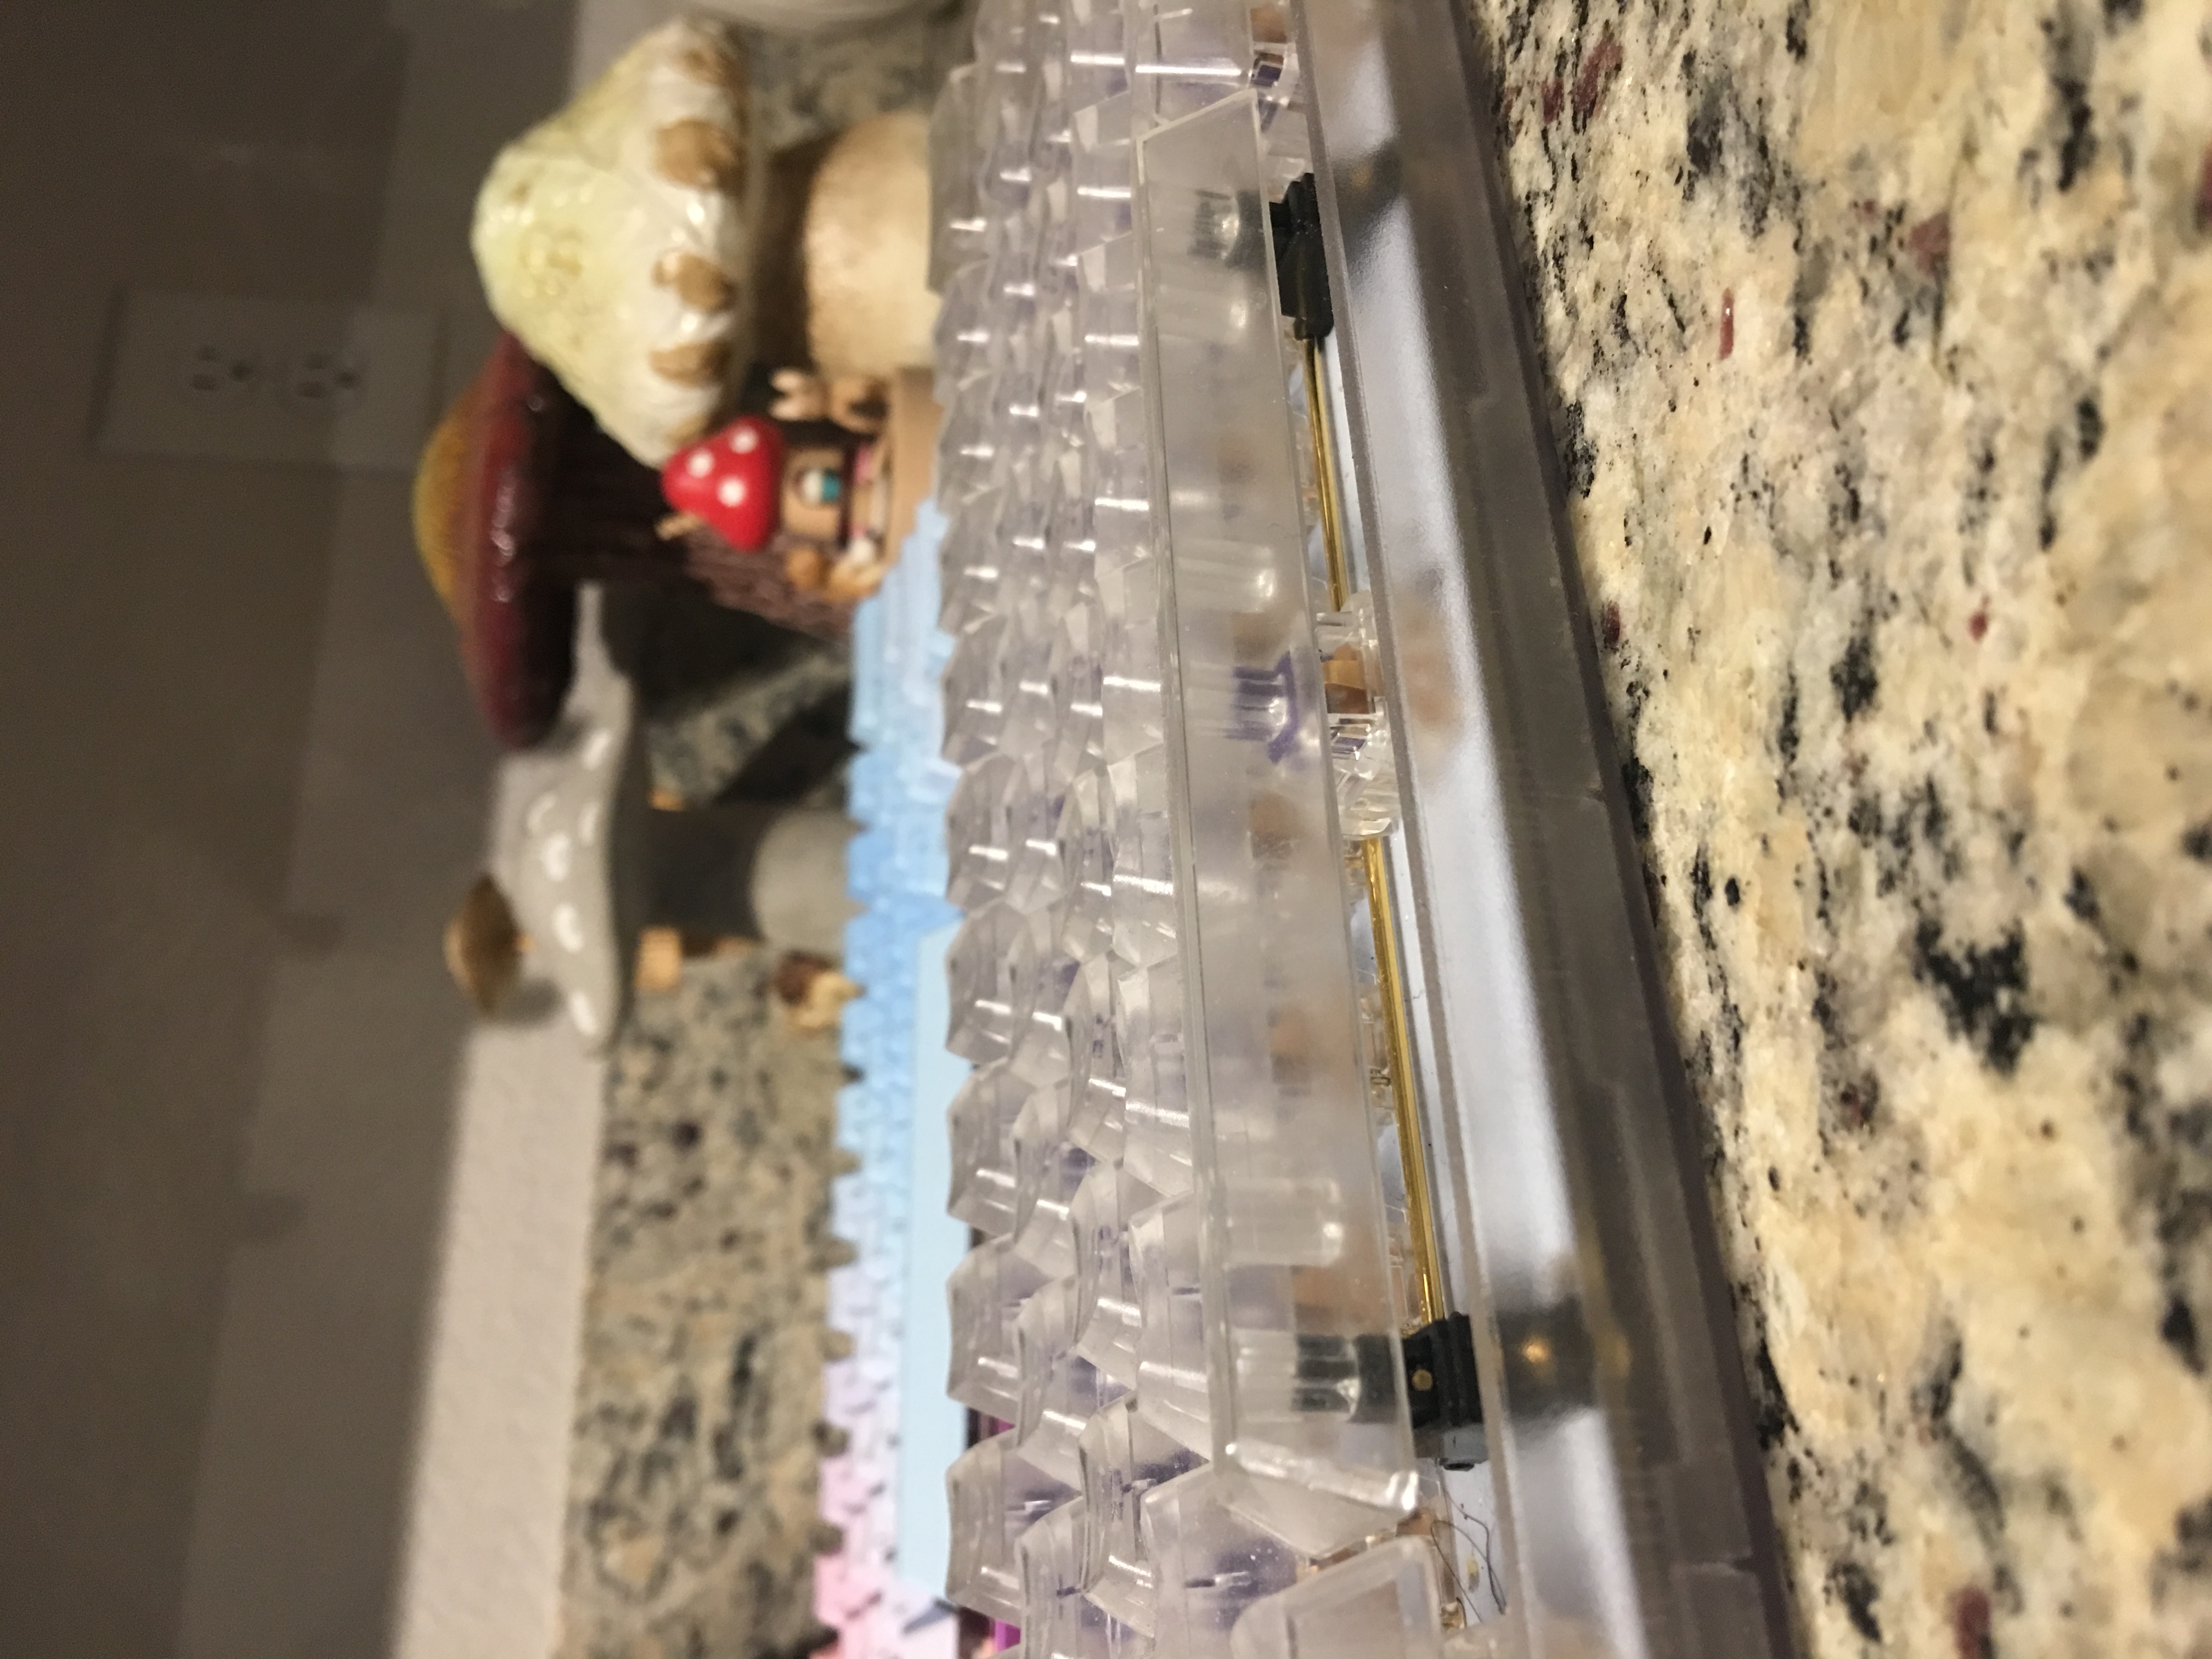
One of the reasons I have so many keyboards is because I messed up so many builds but had a bunch of good parts. Usually I'd mess up a pcb or maybe a connector and i'd be left with switches, keycaps, cases etc. This one stemmed from an Idea I had as a gift for a friend, I just wanted to build a neat "see through" keyboard. Eventually I assembled this one from various parts. I originally wanted to use a switchplate so I could use some of my extra kaihua speed switches, however I couldn't find any suitble ones for sale and laser cutting services for clear acrylic were too expensive. With this i decided to just get some PCB mount mx switches, In this case choosing some trusted ZealPC Zealios to do the job. Their transparent housing also lent themselves to the see-through theme so it worked out.


PCB Breakdown:
- 1upKeyboards RGB 60%
- MCU: Atmega 32u4 8-Bit AVR
- Firmware: QMK
- Format: 60%
- Layouts:
- Backlighting: Per switch THT LED lighting
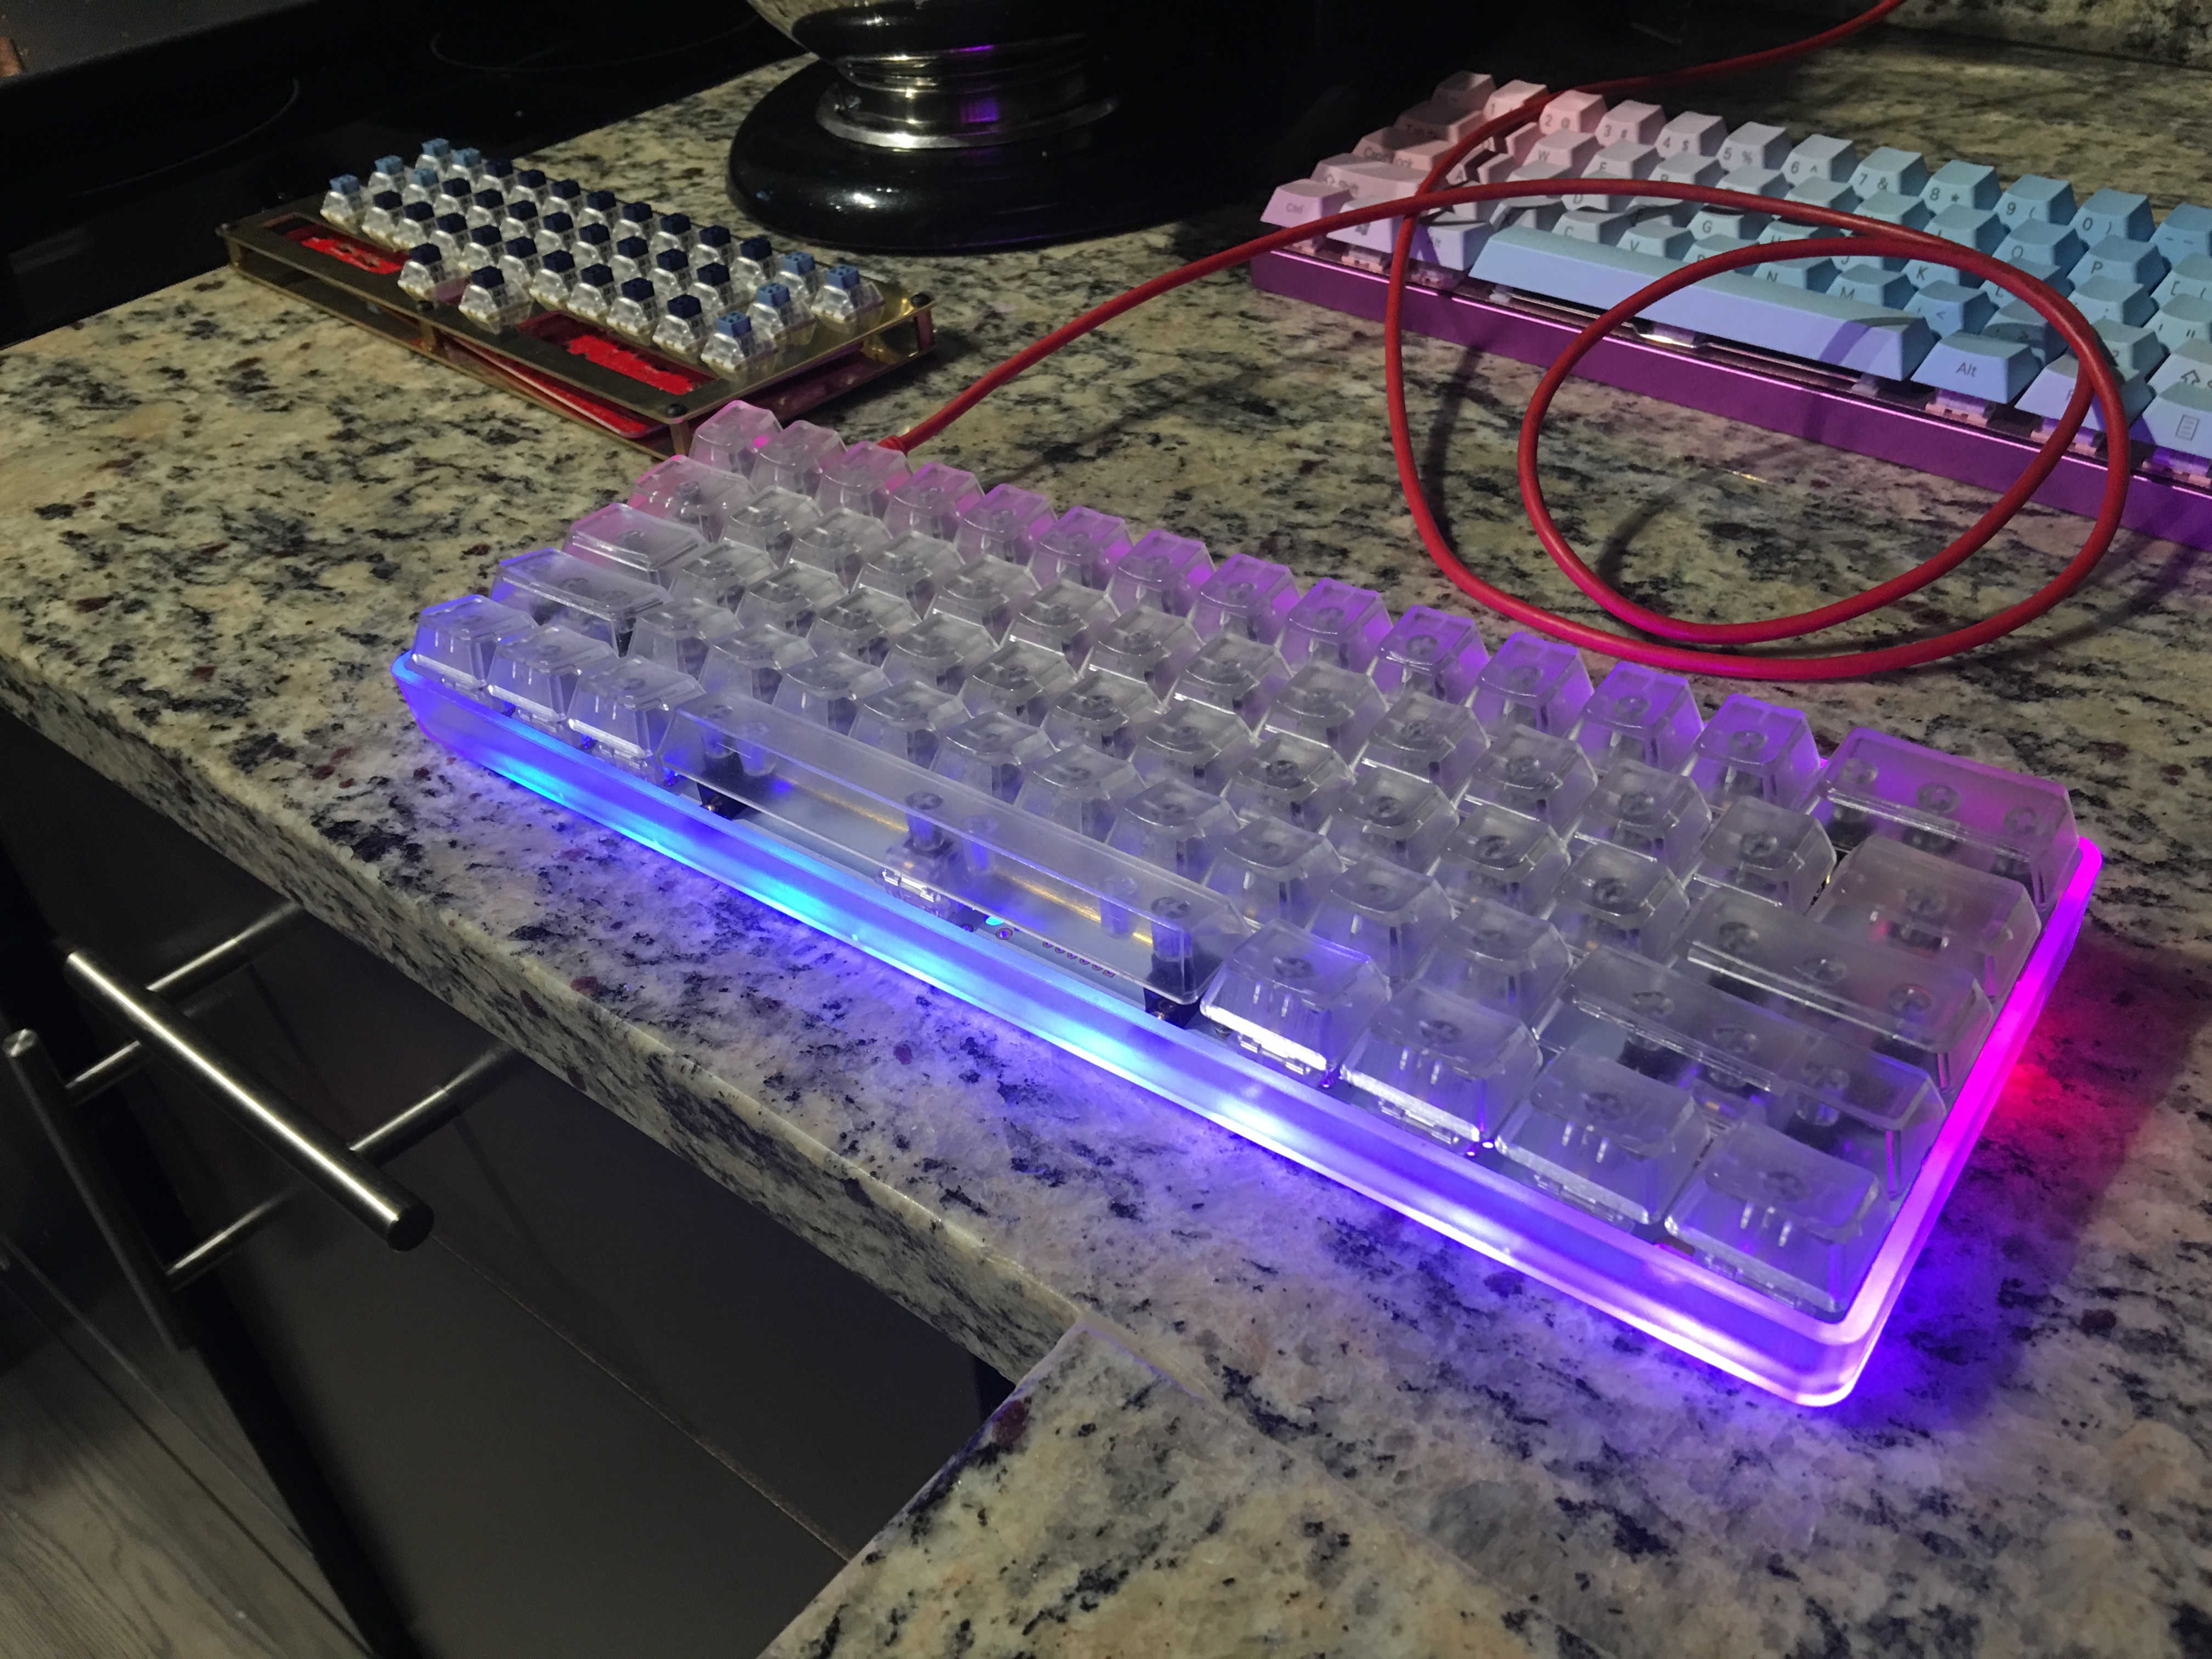
- Underlighting: Adressable RGB LEDs
- Audio: N/A
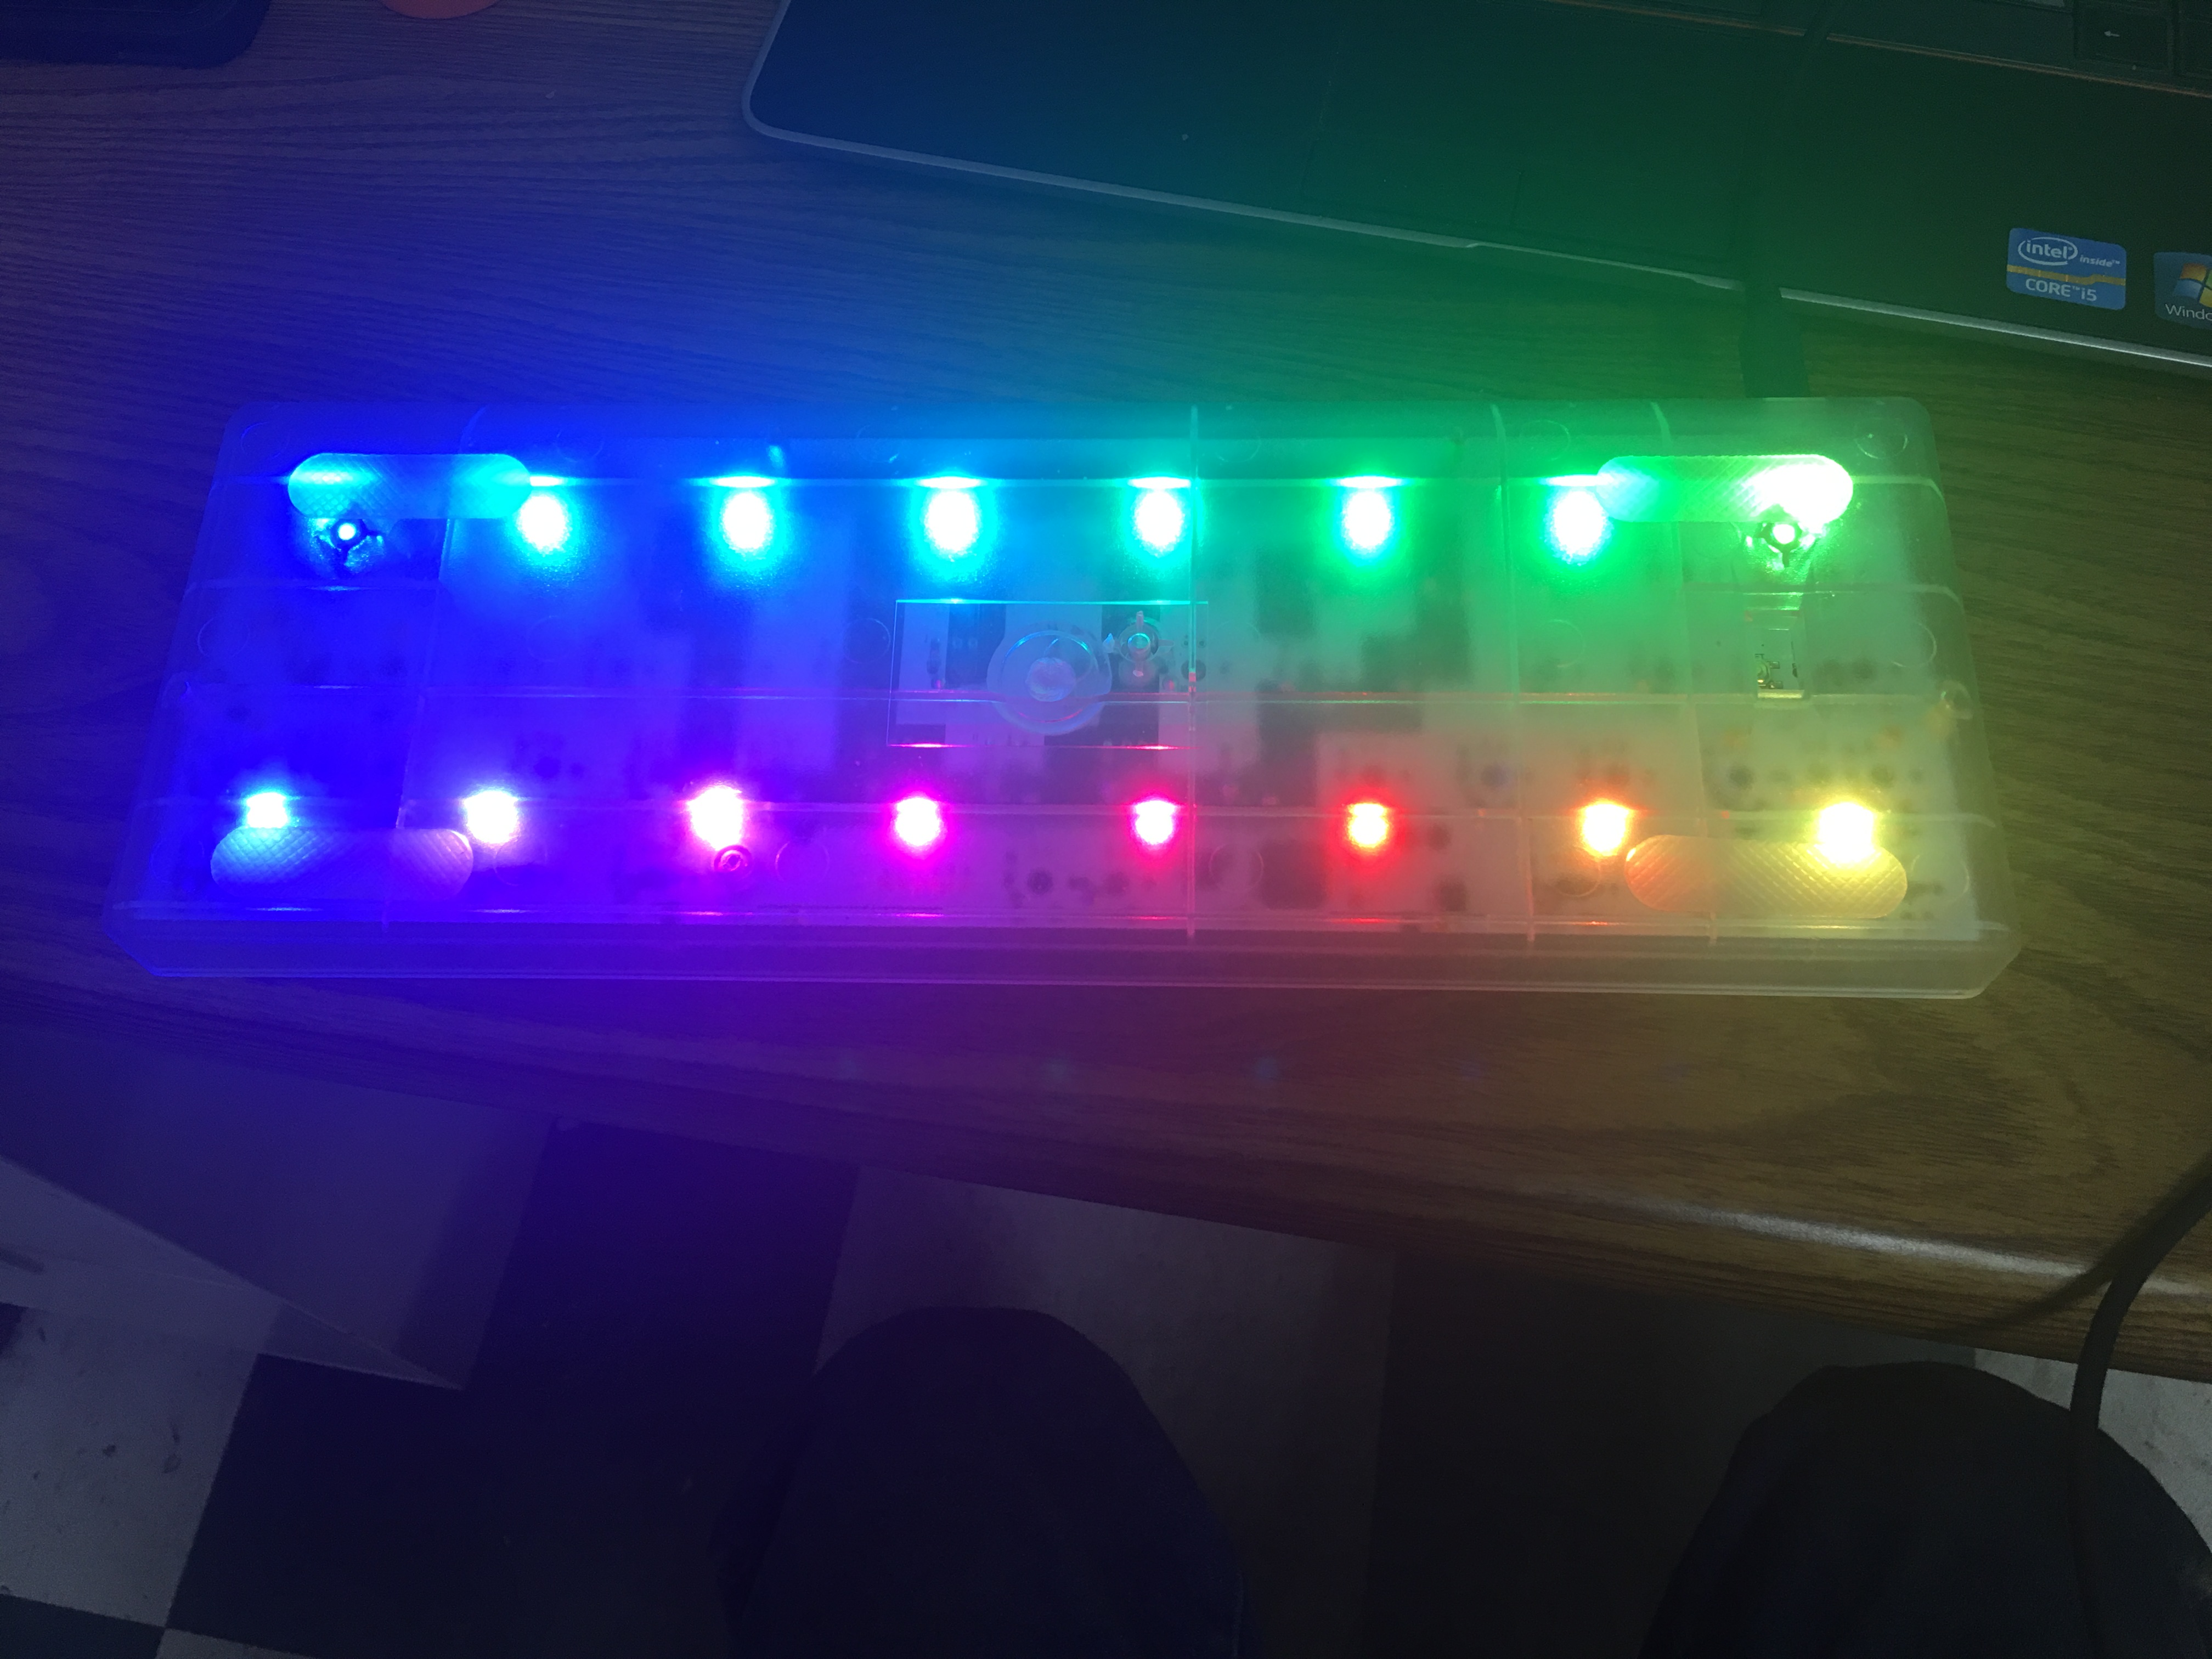
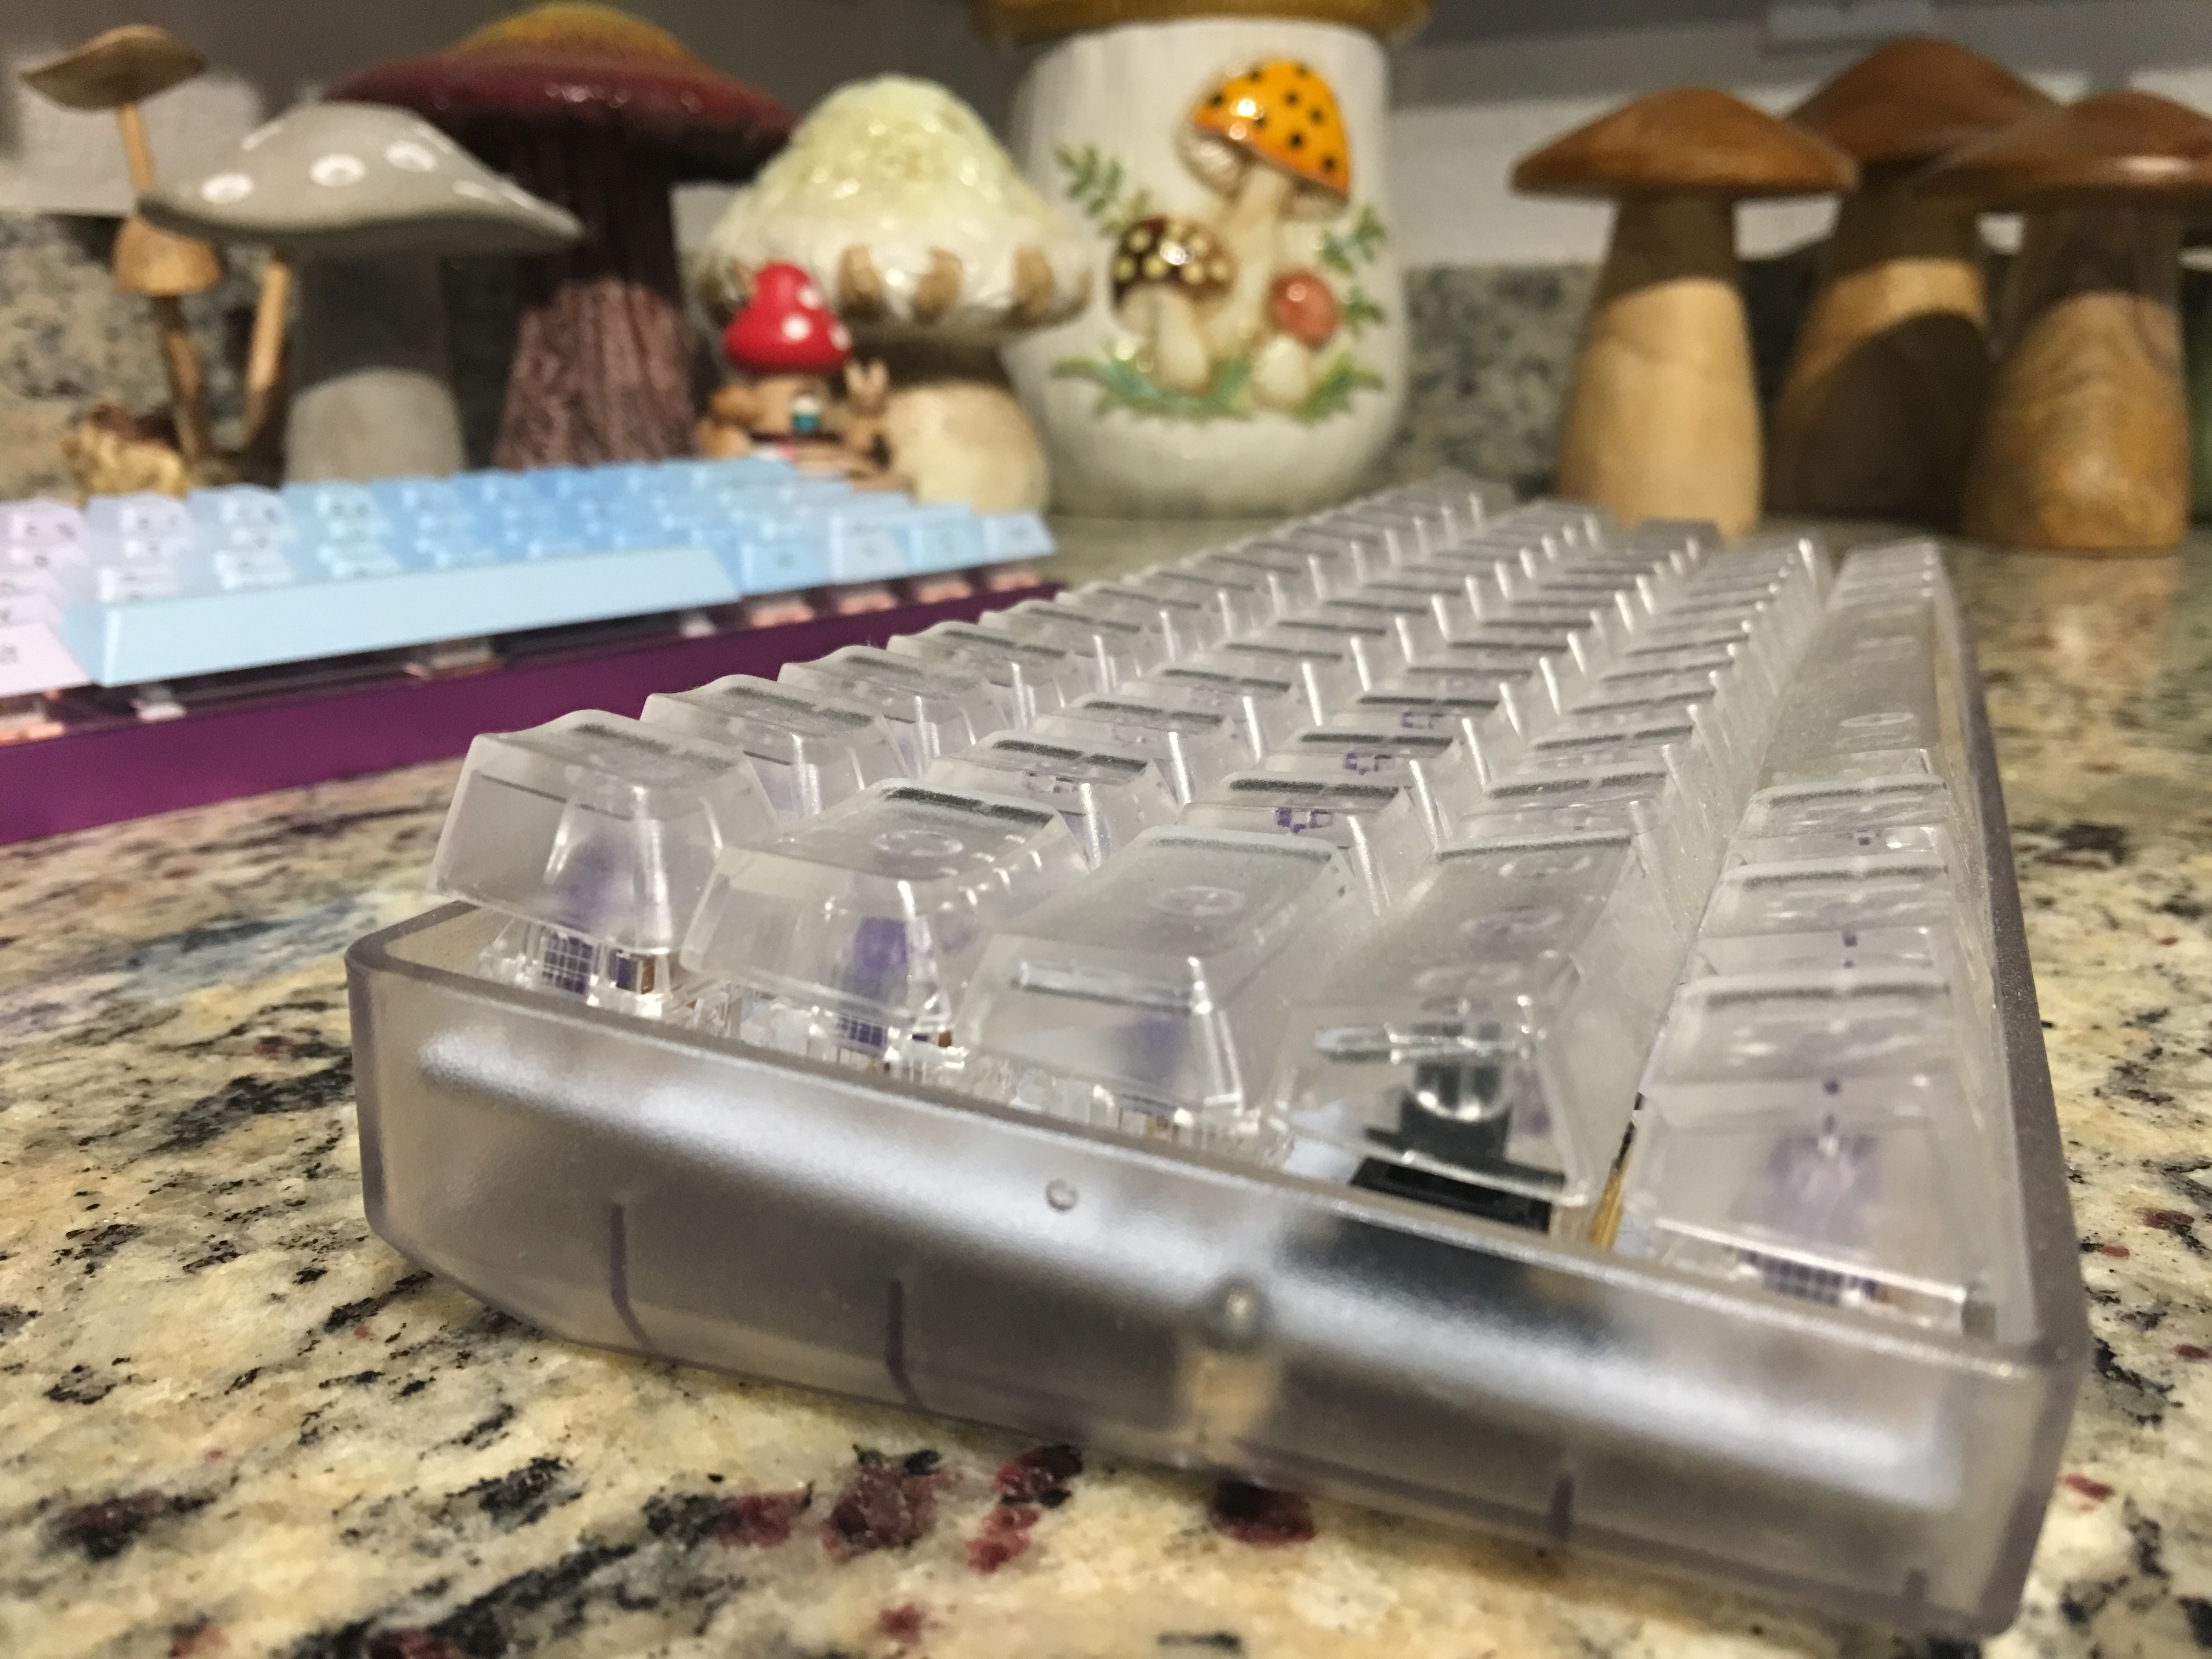
Another solid 60% pcb, this one has rgb underlighting but also capability to do in switch led. With the transparent nature of the build I figured the underlighting was more than enough! Not too many bells and whistles other than the shiny lights but sometimes that's all you need. The Connection is mini usb and probably one of the weaker parts of the board, and I don't say that in terms of being an older connection. The actual metal housing of the USB mini connector seems to have come loose, however it was an easy fix of soldering it back to it's ancorpoints, thankfully this one had some pth for anchoring which made it easy and there have been no problems with the connector sense. Originally I ordered a Hotswap edition of this board which came in a stylish black and white with a usb C connection. However the usb jack was a major weakpoint as the anchoring proved to be inssufciant the the solder connection broken from the added weight and torque of the usb cable. However customer service was prompt and kindly rma'd and replaced my order with this edition and it's been a nice little keyboard to have. Not much else to say about the pcb as it's AVR chip makes it compatible with a lot of open source firmware out there and it's support in QMK is very stable.
Switches:
- ZealPC Zealio 67g
- Tactile
- Travel: ~4mm
- Activation Force: ~33gf
- Bottom out Force: ~67g
- Links: Numbers pulled from: https://input.club/the-comparative-guide-to-mechanical-switches/tactile/gateron-zealio/ and may be for the 65g variant
If you like some tactility in your cherry switches but don't like a scratchy feel I find zeal67gs to be a great switch. It's not too heavy on the fingers and unlike cherry browns you can actually feel a bump. Though my thirst for more tactile switches lead me to prefer other types of switches, I greatly prefer these to any Cherry MX and just about every clone switch i've tried. They're a good balance and a good looking switch, which is definitely a bonus with the see through design i was going for.
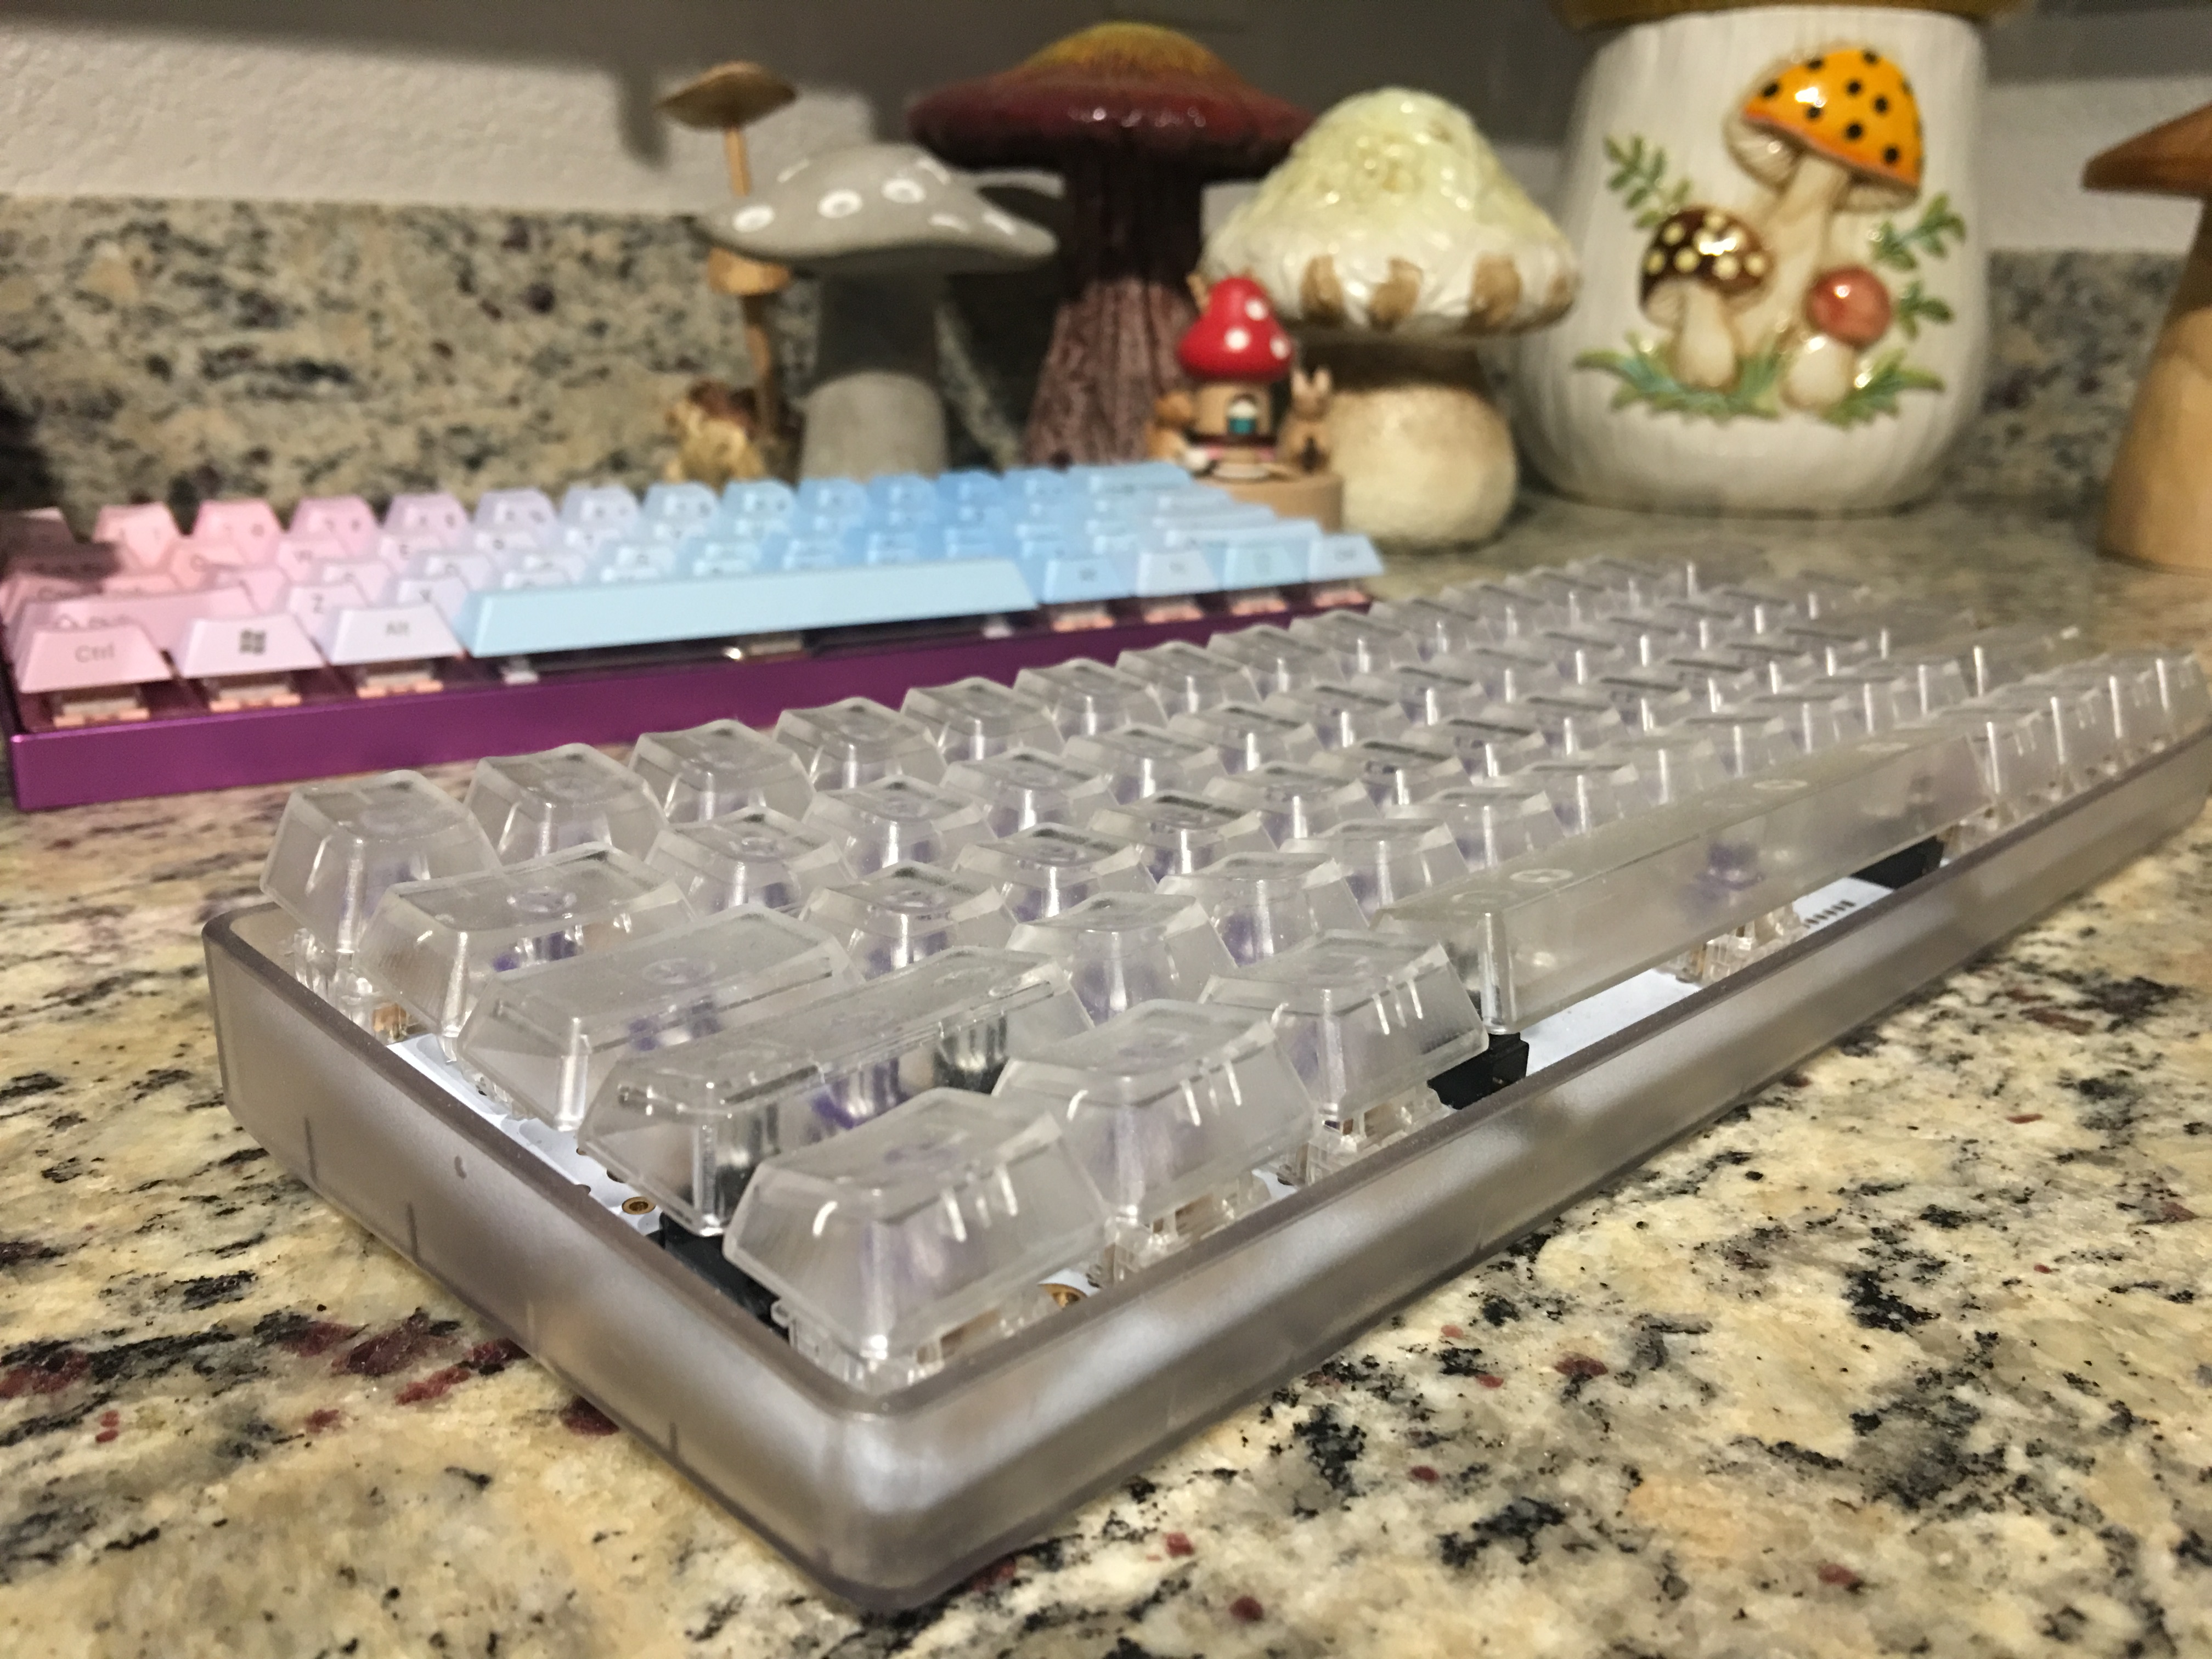
Keycaps:
- Material: Polycarbonate
- Profile: DCS
Due to the Translucent nature of the caps they're not made of your usual choices of abs or PBT instead these caps are all polycarbonate. They have a texturized top cap, which i believe helps them from feeling too slick as smooth plastics can get, it's a nice touch and the feel is nice. As for the profile, DCS is very similar to Cherry profile except for a more agressive angle on the bottom row. This was my first DCS set and i was quite pleased with the profile.
Case and not Plate:
- Case Material: Plastic
- Feet/Stands: rubber pads
- Plate Material: no switchplate on this one!
One of the few available see-through cases is in plastic. Originally I thought of making a layered clear acyrilc case but laser cutting costs as well as the potential brittle nature of acrylic caused me to seek this alternative. Luckily the cost is very low and was one of the cheapest parts of the build. The case is poker compatilbe and the mounts for the screws are thankfully brass inserts so removing the pcb from the case shouldn't wreck it like it would if the screwins were just plastic mold. The odd screw mount layout due to it's nature of being a good amount of flex on the pcb by the top row of keys, which is probalby exaggerated due to me not using a switchplate for this build. It's not major but since i'm a fan of just hurting my fingers in general with hard switches and surfaces I put some screw in standoffs on the pcb itself to keep the pcb from flexing too far down. All im happy with how it turned out.
Bom and Cost:
| Qty | Part | Price | Link |
| 1 | RGB60 PCB 1UPkeyboards | $45.00 | Product Page |
| 1 | Transparent Plastic 60% Case | $18.00 | Store Page |
| 1 | SP Translucent DCS Keycap Set | $35.00 | Store Page |
| 65 | Zealio 67g | $65.00 | Store Page |
| 1 | Set of Gold Plated Cherry style Stabilizers | $15.00 | Store Page |
Rough Cost: $175.00